Quickstart
Summary
Once upon a time in a quaint little town, there lived a spirited golden retriever named Max. He was known for his boundless energy and insatiable curiosity. One afternoon, as dark clouds gathered and the wind began to howl, rain started to pour down from the sky.
Max, undeterred by the weather, stood by the door, his tail wagging furiously as he watched the raindrops dance on the ground. His owner, Sarah, had been about to leave for a walk, but the weather seemed to have other plans. Seeing Max's eagerness, she decided it was a perfect opportunity for a little adventure together, even if it meant getting a bit wet.
Armed with a bright yellow raincoat for Max and her own waterproof jacket, they stepped outside. The world looked different under the veil of rain; the colors were more vibrant, and the air smelled fresh and invigorating. Max bounded ahead, splashing through puddles with jubilant fervor. Each splash sent droplets flying into the air, creating a sparkling display that mirrored the joy in his heart.
As they ventured deeper into the park, the rain became heavier, but Max didn't mind. He chased raindrops as if they were his playful companions, barking with delight every time he leapt into a particularly large puddle. The playful antics of her beloved dog brought a smile to Sarah’s face amidst the raindrops falling around them.
They continued their exploration when suddenly, Max paused. He sniffed the air, his ears perked, and then darted towards an old oak tree where a small bird had sought refuge from the rain. Max watched intently, his curiosity piqued, as the bird fluffed its feathers. Sarah called him back, and he returned with an excited wag of his tail, ready to press on.
After a joyful excursion, they returned home, soaked but happy. Sarah toweled Max dry and rewarded him with his favorite treat for being such a good sport at the rain-soaked outing. As Max snuggled up next to her on the couch, exhausted from his adventures, Sarah realized that sometimes, the best moments come when you embrace the unexpected, even if it means getting a little wet.
In that cozy warmth, with the rain pattering gently against the windows, they both drifted into a contented slumber, dreaming of the next adventure that awaited them, rain or shine.
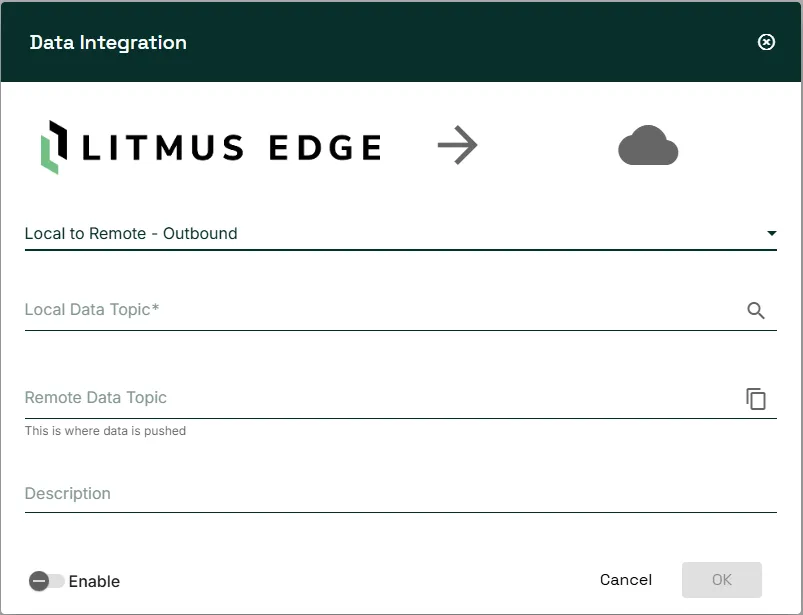
You can define the specific InfluxDB measurement that you want to publish data to. If you don't define a measurement, then deviceName and deviceID topic values (deviceName.deviceID) define the measurement name.
For more information on InfluxDB measurements, see
To specify an InfluxDB measurement:
- Edit the subscription to the topic to open the Data Integration dialog.
In specify the measurement name in your InfluxDB data structure.
- idobjectrequiredDescription
- New Parameterobject
- Sub-parameterstringDescription
var myHeaders = new Headers();
myHeaders.append("Accept", "application/json");
myHeaders.append("Content-Type", "application/json");

var raw = JSON.stringify({
   "id": "string"
});

var requestOptions = {
   method: 'GET',
   headers: myHeaders,
   body: raw,
   redirect: 'follow'
};

fetch("https://api.cakes.com", requestOptions)
   .then(response => response.text())
   .then(result => console.log(result))
.catch(error => console.log('error', error));{
"name": "Cake's name",
}{
"message": "Ain't no cake like that."
}back4app main features:
- database
- cloud code functions
- apis (graphql and rest)
- file storage
- authentication
- push notifications
5-minutes quick start
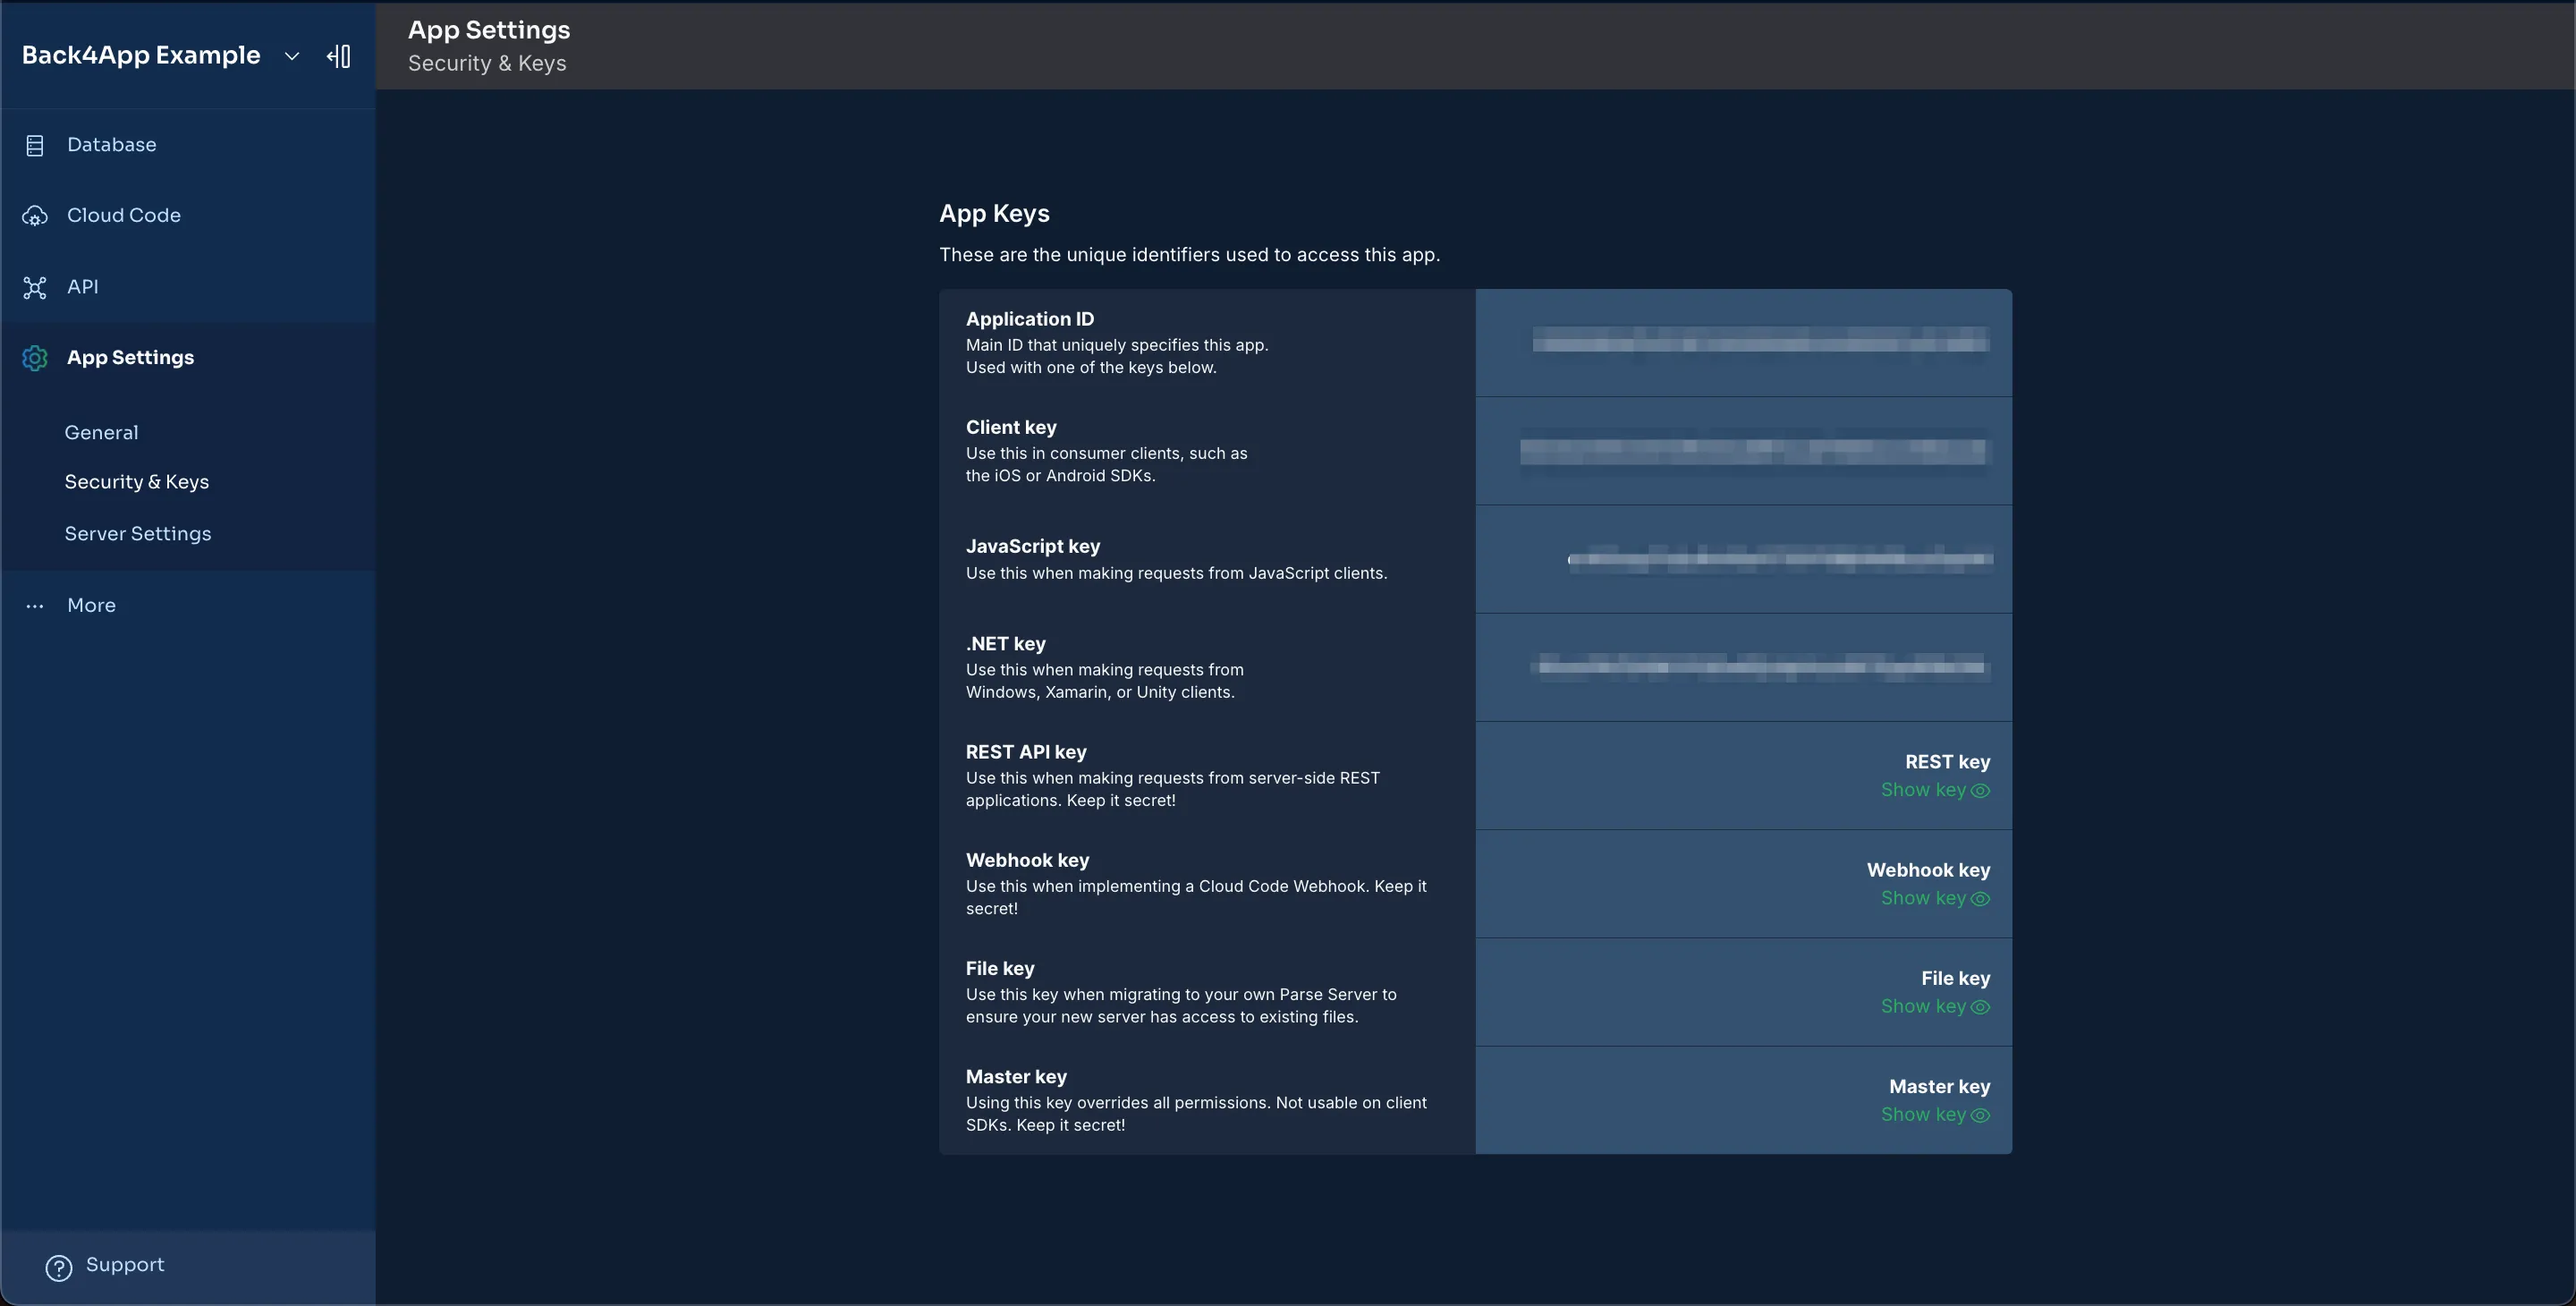
after creating your back4app account and first app, go to your app dashboard and get your app keys under app settings -> security & keys(check the image below). note that you will always need two keys to connect with back4app, the application id, and another key according to the sdk you will use.
1. install and configure the parse sdk
to integrate the parse sdk, follow these general steps:
install the parse sdk:
- javascript / node.js: npm install parse --save
- react native: npm install parse @react-native-async-storage/async-storage --save, then run cd ios && pod install
- flutter: add parse_server_sdk_flutter to pubspec.yaml
- android (java): add your app's build.gradle inside dependencies{}:
implementation "com.github.parse-community.parse-sdk-android:parse:latest_version"- ios (swift): install cocoapods (sudo gem install cocoapods) and add parse to your podfile
initialize the parse sdk with your application id and the appropriate key:
parse.initialize('your_application_id', 'your_javascript_key');
parse.serverurl = 'https://parseapi.back4app.com/';
the example above is for javascript/node.js. adjust accordingly for your platform.
2. save data on back4app
create and save a sample object to confirm that the sdk is properly set up. use the example below and adapt it to your programming language:
async function savenewplayer() {
    const player = new parse.object('player');
    player.set('name', 'alex');
    player.set('yearofbirth', 1997);
    player.set('emailcontact', '[email protected]');
    player.set('attributes', ['fast', 'good endurance']);

    try {
        const result = await player.save();
        console.log('new object created with id:', result.id);
    } catch (error) {
        console.error('failed to save object:', error.message);
    }
}
after saving, you can verify the data in the app dashboard on back4app.
3. platform-specific setup
javascript - react / angular
- install the sdk: npm install parse --save
- initialize with your app keys and back4app server url.
flutter
- add parse_server_sdk_flutter in your pubspec.yaml:
dependencies:
  parse_server_sdk_flutter: ^latest_version
2. initialize parse in main.dart:
await parse().initialize('your_application_id', 'https://parseapi.back4app.com', clientkey: 'your_client_key');android (kotlin/java)
- include the sdk in build.gradle and configure network permissions in androidmanifest.xml
- initialize in app.kt:
parse.initialize(new parse.configuration.builder(this)
    .applicationid(getstring(r.string.back4app_app_id))
    .clientkey(getstring(r.string.back4app_client_key))
    .server(getstring(r.string.back4app_server_url))
    .build()
);
ios (swift)
- add parseswift to your project using cocoapods.
- initialize parse in appdelegate.swift:
let configuration = parseclientconfiguration {
    $0.applicationid = "your_application_id"
    $0.clientkey = "your_client_key"
    $0.server = "https://parseapi.back4app.com"
}
parse.initialize(with: configuration)
php
- install the sdk with composer by creating a composer.json with:
{
    "require": {
        "parse/php-sdk" : "1.6.*"
    }
}
then, run composer.install.
2. initialize parse in your php script:
require 'vendor/autoload.php';
parseclient::initialize('your_app_id', 'your_rest_key', 'your_master_key');
parseclient::setserverurl('https://parseapi.back4app.com', '/');
3. save data in php:
$player = new parseobject("player");
$player->set("name", "alex");
$player->set("yearofbirth", 1997);
$player->set("emailcontact", "[email protected]");
$player->setarray("attributes", ["fast", "good endurance"]);
$player->save();
.net (c#)
- install parse sdk through nuget package manager in visual studio.
- initialize parse in your application:
parseclient.initialize(new parseclient.configuration {
    applicationid = "your_app_id",
    server = "https://parseapi.back4app.com",
    clientkey = "your_client_key"
});
3. save data in c#:
var player = new parseobject("player")
{
    ["name"] = "alex",
    ["yearofbirth"] = 1997,
    ["emailcontact"] = "[email protected]",
    ["attributes"] = new list<object> { "fast", "good endurance" }
};
await player.saveasync();
rest api
- save data via rest by sending a post request:
curl -x post \
-h "x-parse-application-id: your_app_id" \
-h "x-parse-rest-api-key: your_rest_key" \
-h "content-type: application/json" \
-d '{"name":"alex", "yearofbirth":1997, "emailcontact":"[email protected]", "attributes":["fast", "good endurance"]}' \
https://parseapi.back4app.com/classes/player
4. additional resources and examples
there are many example apps and starter projects to get going
- react native associations - a template on react native digging deeper into associations and relational queries using pointers andrelations.
find more examples in back4app templates.
what to do next?
after completing the quick start, we encourage you to explore back4app's key features through the guides below. you'll learn how to store and query relational data, implement cloud functions for backend logic, use real-time subscriptions to keep users updated, manage file storage, send push notifications, and set up authentication. select the technology that best fits your project and enjoy the journey!